Lip Blush
Lip Blush, Lip Neutralization
Lips
Before Lip Blush Appointment
Avoid caffeine, alcohol, and blood thinners, taking aspirin or ibuprofen 24 hours prior, and skip any skincare treatments like peels, retinol, fish oil, vitamin E a week before your session.
It is okay to come with or without makeup.
Not Eligible for Lip Permanent Makeup:
Are pregnant or breastfeeding
Are under 18 years old
Have a history of cold sores (HSV-1) — you may need antiviral treatment before the procedure
Have skin conditions on the lips (eczema, open wounds, or irritation)
Have uncontrolled diabetes or bleeding disorders (consult your doctor)
Are taking blood thinners
Have a history of keloid scarring
Have an auto-immune disease (consult your doctor, it may be possible)
Recently had lip injections or other cosmetic lip procedures (wait at least 6 weeks)
Take Accutane or steroids
*It is vital to take anti-viral medication before your procedure if you're prone to cold cores. They can appear due to trauma of tattooing and affect the healing process.
If you have any conditions or diseases, consult your doctor and heck if you are a candidate for the PMU lips treatment.
Our goal is for every client to feel informed and 100% confident going into their service. Please feel free to contact your PMU artist for questions or concerns!
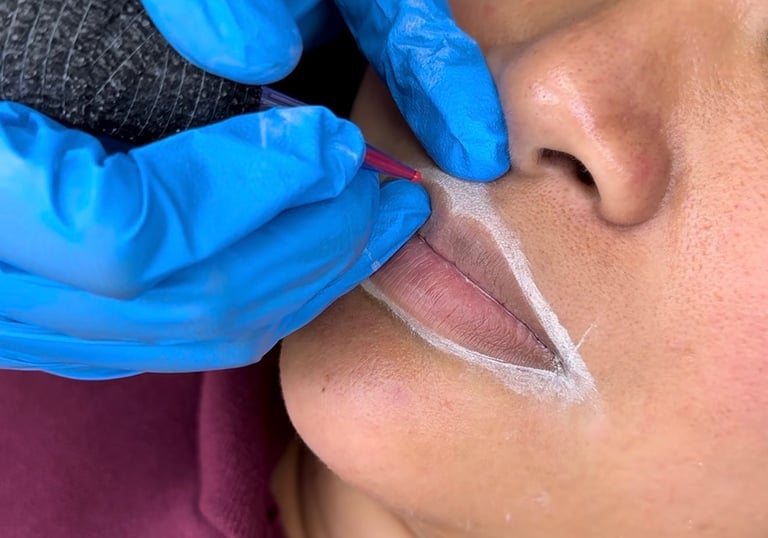
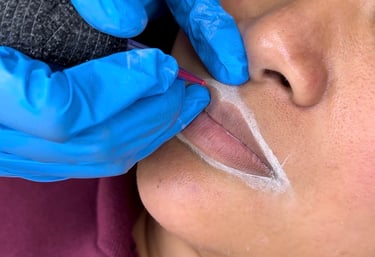
Lip Procedure
Our Step-by-Step Process for all Lip PMU Services
Step 1: Mapping Process
We will start by asking you about your desired brow shape, thickness, and color, and evaluate your facial features and skin tone to determine the best approach for achieving your desired results. Every lip is a customized design tailored to your unique facial features and personal preferences.
We dedicate 1+ hours solely for mapping to ensure our clients are 100% happy about their shape and color before making anything permanent.
We take this part of the procedure very seriously and encourage clients to ask for as many changes as they wish and ask questions throughout the process.
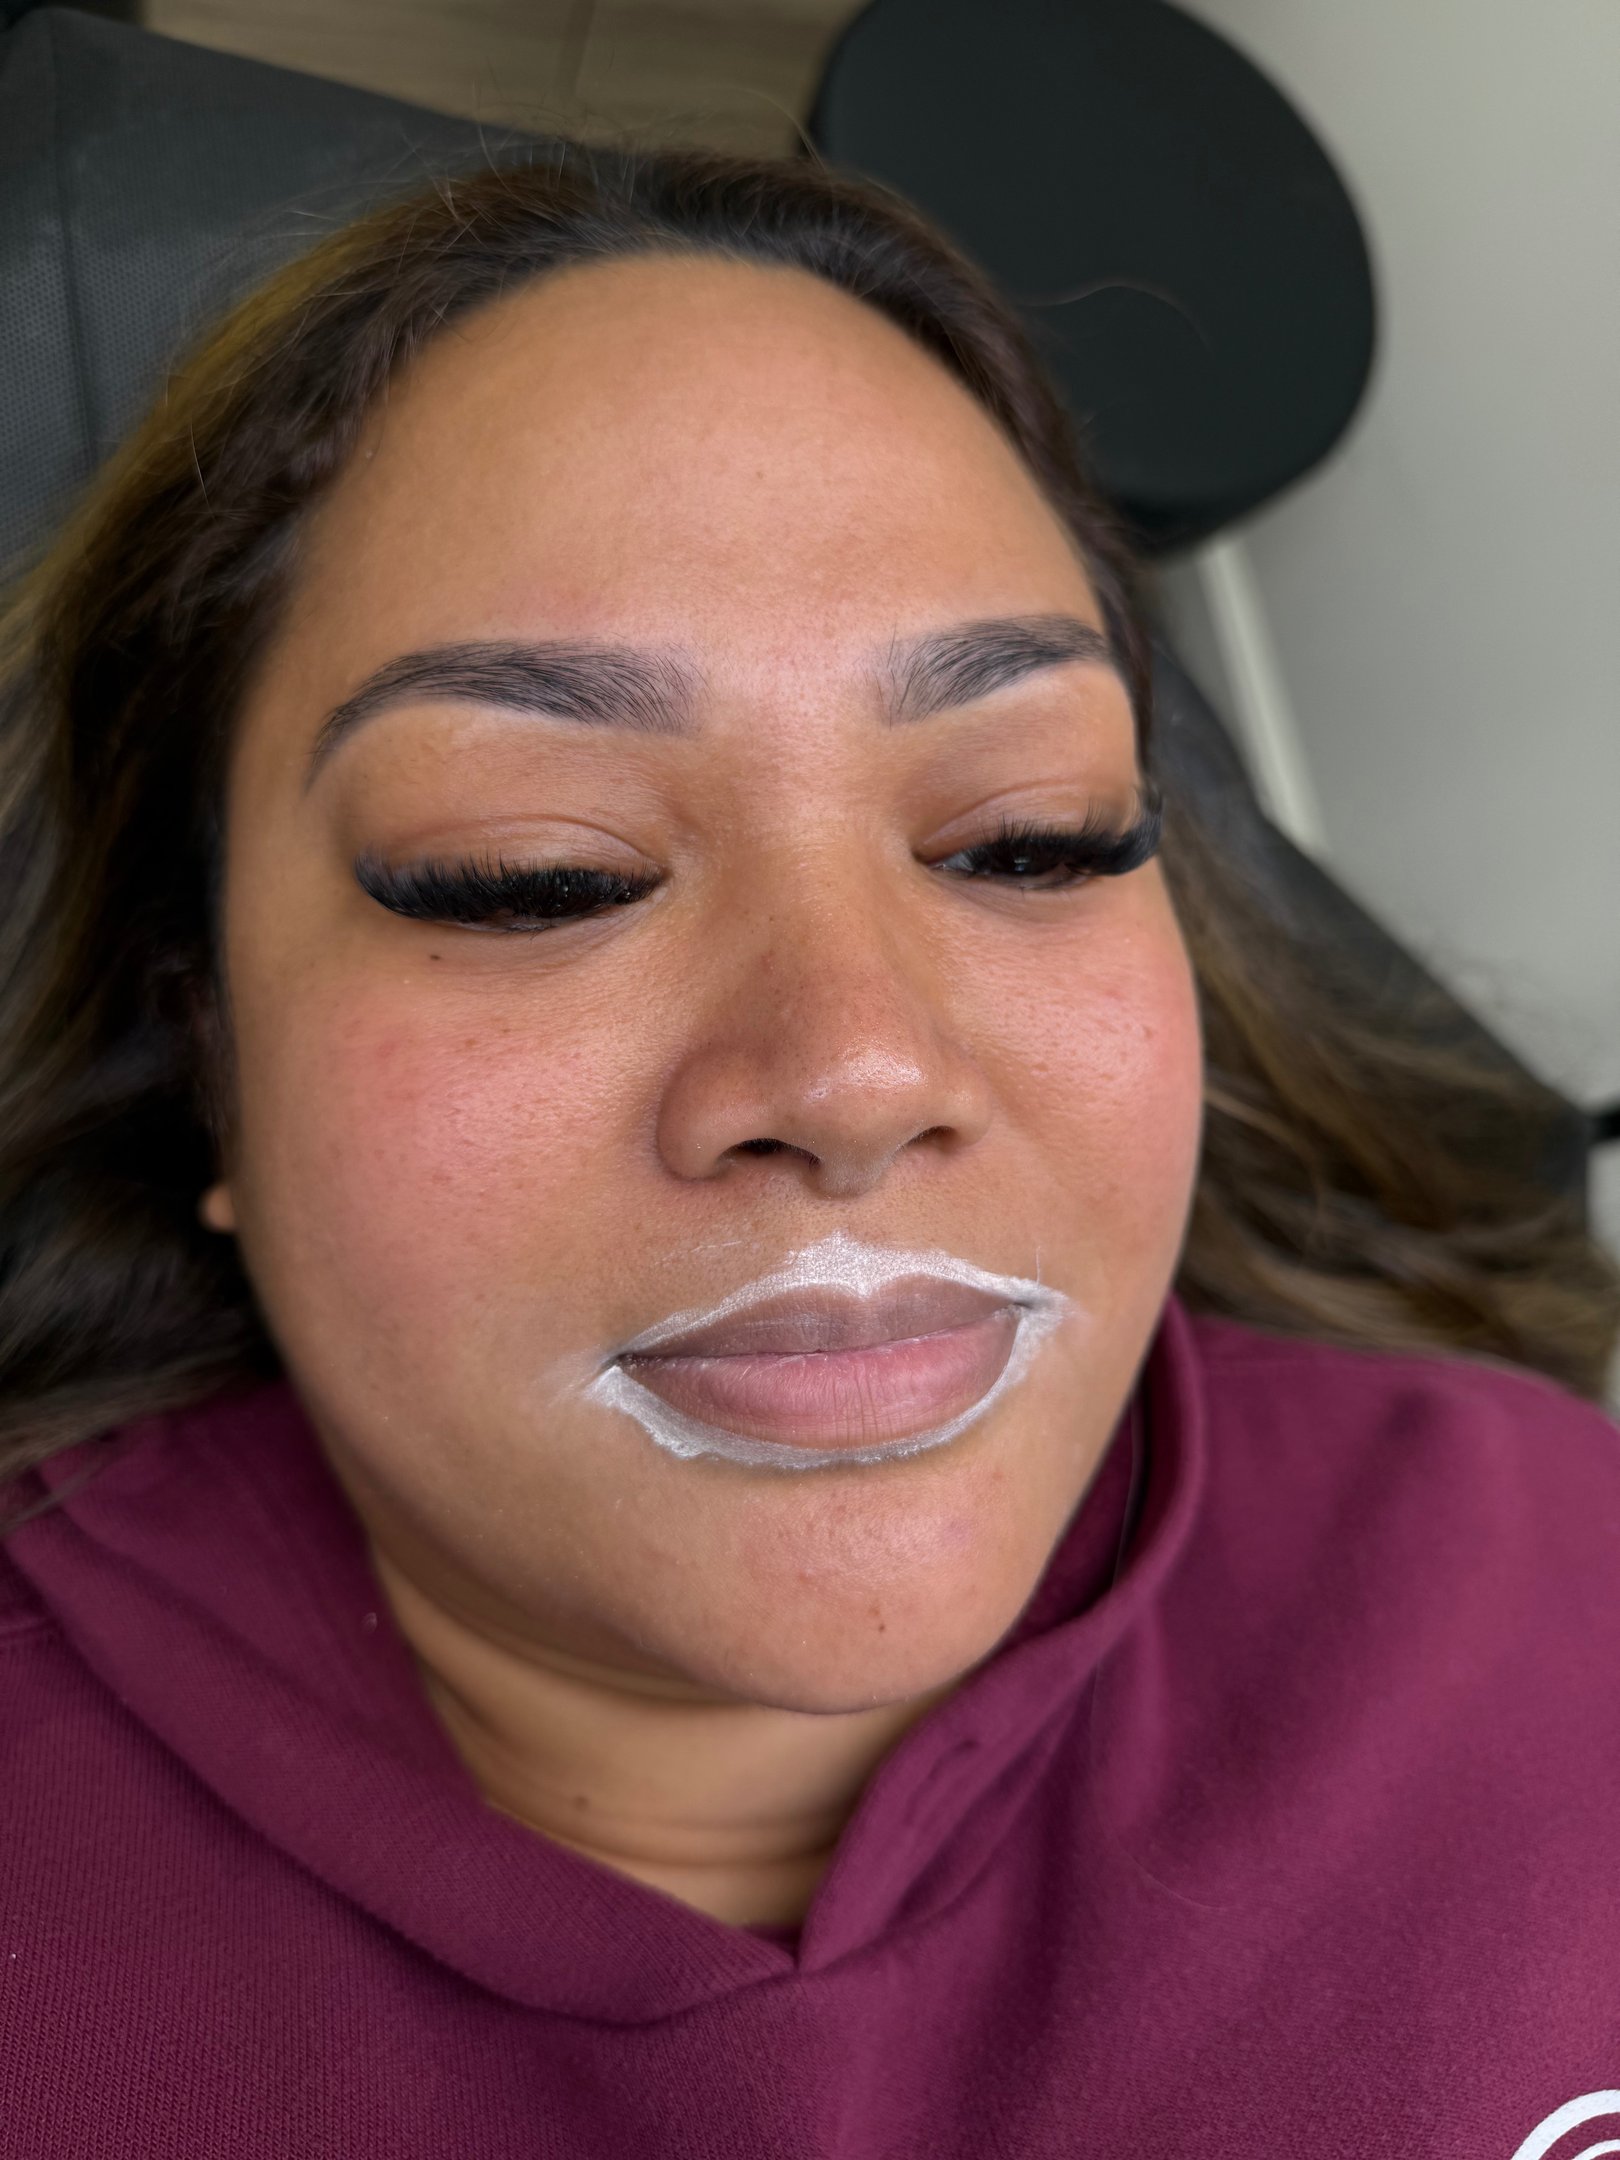
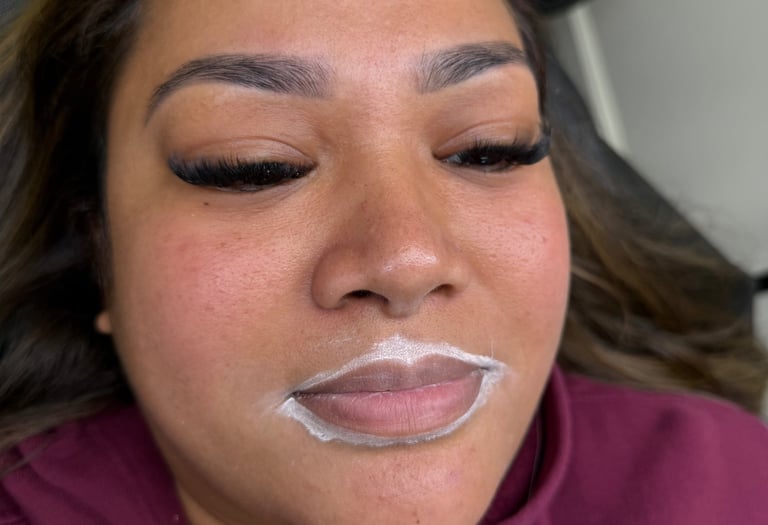
Step 2: Numbing
We use a special DOUBLE NUMBING process to ensure that you won't feel and pain during the process.
First pass: We begin with a light outline, carefully tracing over the pre-drawn shape to map your brows perfectly.
Second pass: We go over the outline again, adding more detail and definition for a natural, polished look.
Third pass: We apply the finishing touches, ensuring a defined shape and seamless gradient. Afterward, we show your lips and ask for any adjustments you’d like.
Lips heal 50-60% lighter than the initial result.
Step 3: Procedure
Lip Blush Healing Process
The Lip Blush Healing Process Takes Approximately 1 Month
Day 1 - 2: Tender

Lips feel tender, slightly swollen, and very vibrant in color. You might notice some minor bleeding or oozing.


Day 3-10: Dark/Peeling
Day 10-14: Evens Out
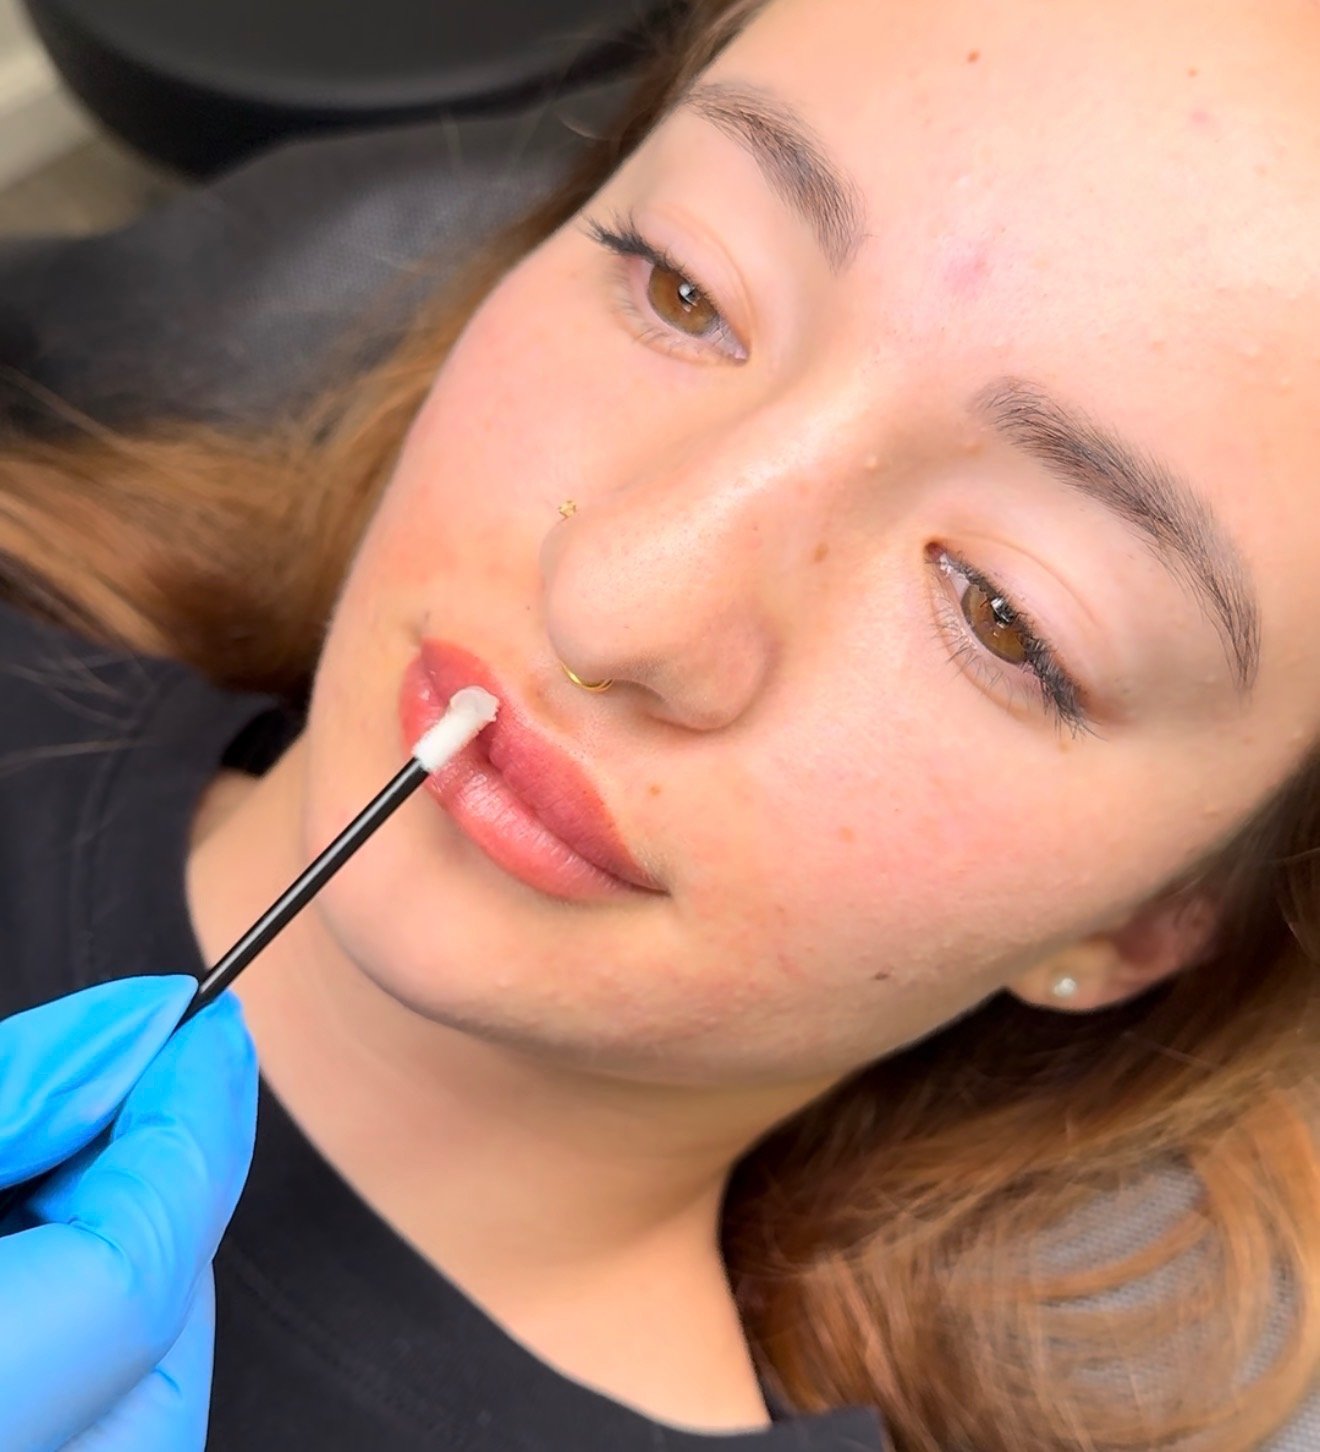
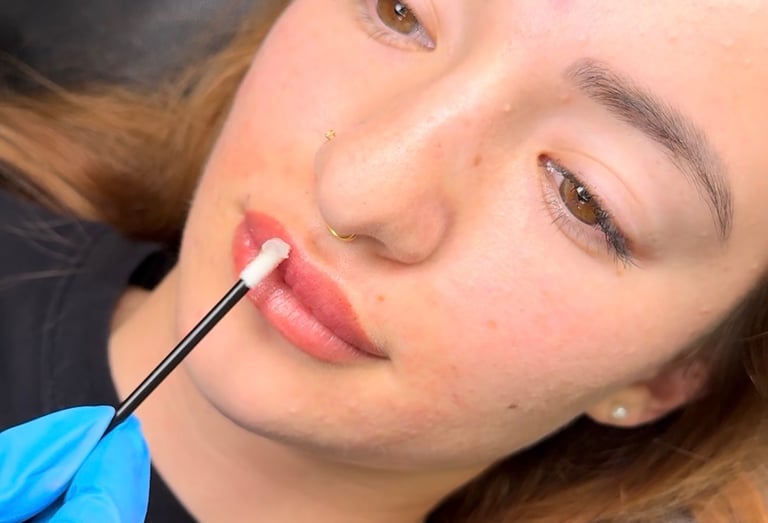
Week 3-4: Healed
Lips may start to scab or peel. The color can look uneven or patchy during this stage. It’s important not to pick at the lips to avoid removing pigment.
Most of the scabs are gone, and lips start to feel smoother. The color appears softer and more natural.
Lips are fully healed in 1 month and are 40-60% lighter than initial result. If there are some uneven spots or changes you would like to make, please schedule a touchup
Lip Aftercare Instructions
DON'T
DO NOT touch or pick the peeling on your lips as this could lead to infection or loss of pigment
DO NOT Exercise for 5 Days to avoid sweating
DO NOT Apply cosmetics, cleansers, or lotions to lips for
2 WEEKS
DO NOT schedule lip fillers, go tanning, or any chemical treatments until your lips are completely healed
DO NOT Use saunas, steam rooms, or swim for 1 week
DO
Keep your lips clean and dry of any fluid that may present itself after treatment.
Pat dry with clean tissue. Make your your lips are moisturized with Aquaphor 3-4 times a day.
For swelling, apply an icepack with sterile barrier or take an ibuprofen.
Avoid irritation from salty or spicy foods. Use a straw while drinking as your lips are healing.