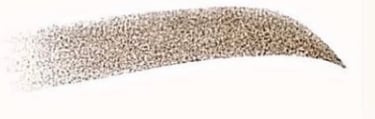
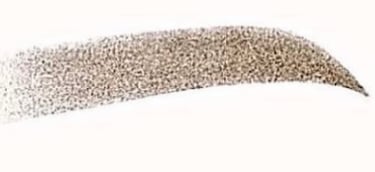
Brows
Nano Brows, Ombre Brows, Microblading, Combo Brows
Brows
Avoid caffeine, alcohol, and blood thinners 24 hours prior, and skip any skincare treatments like peels, retinol, tinting, waxing, or tanning a week before your session.
It is okay to come with or without makeup.
Not Eligible for Brow Permanent Makeup:
Are pregnant or breastfeeding
Are under 18 years old
Have skin conditions specifically in the treatment area (eczema, psoriasis, active acne, or open wounds)
Are currently undergoing chemotherapy or radiation
Have uncontrolled diabetes
Are taking blood thinners or have bleeding disorders
Have a history of keloid scarring (ONLY applies to microblading services)
Have had a recent cosmetic procedure (like Botox, fillers, or peels) in the area within 2–4 weeks
Take Accutane or steroids
If you have any conditions, diseases etc., consult your doctor to see if you are a candidate for the PMU brows treatment.
Before Brow Appointment
Our goal is for every client to feel informed and 100% confident going into their service. Please feel free to contact your pmu artist for questions or concerns!
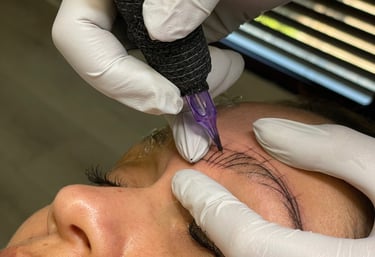
Brow Procedure
Our Step-by-Step Process for all Brow PMU Services
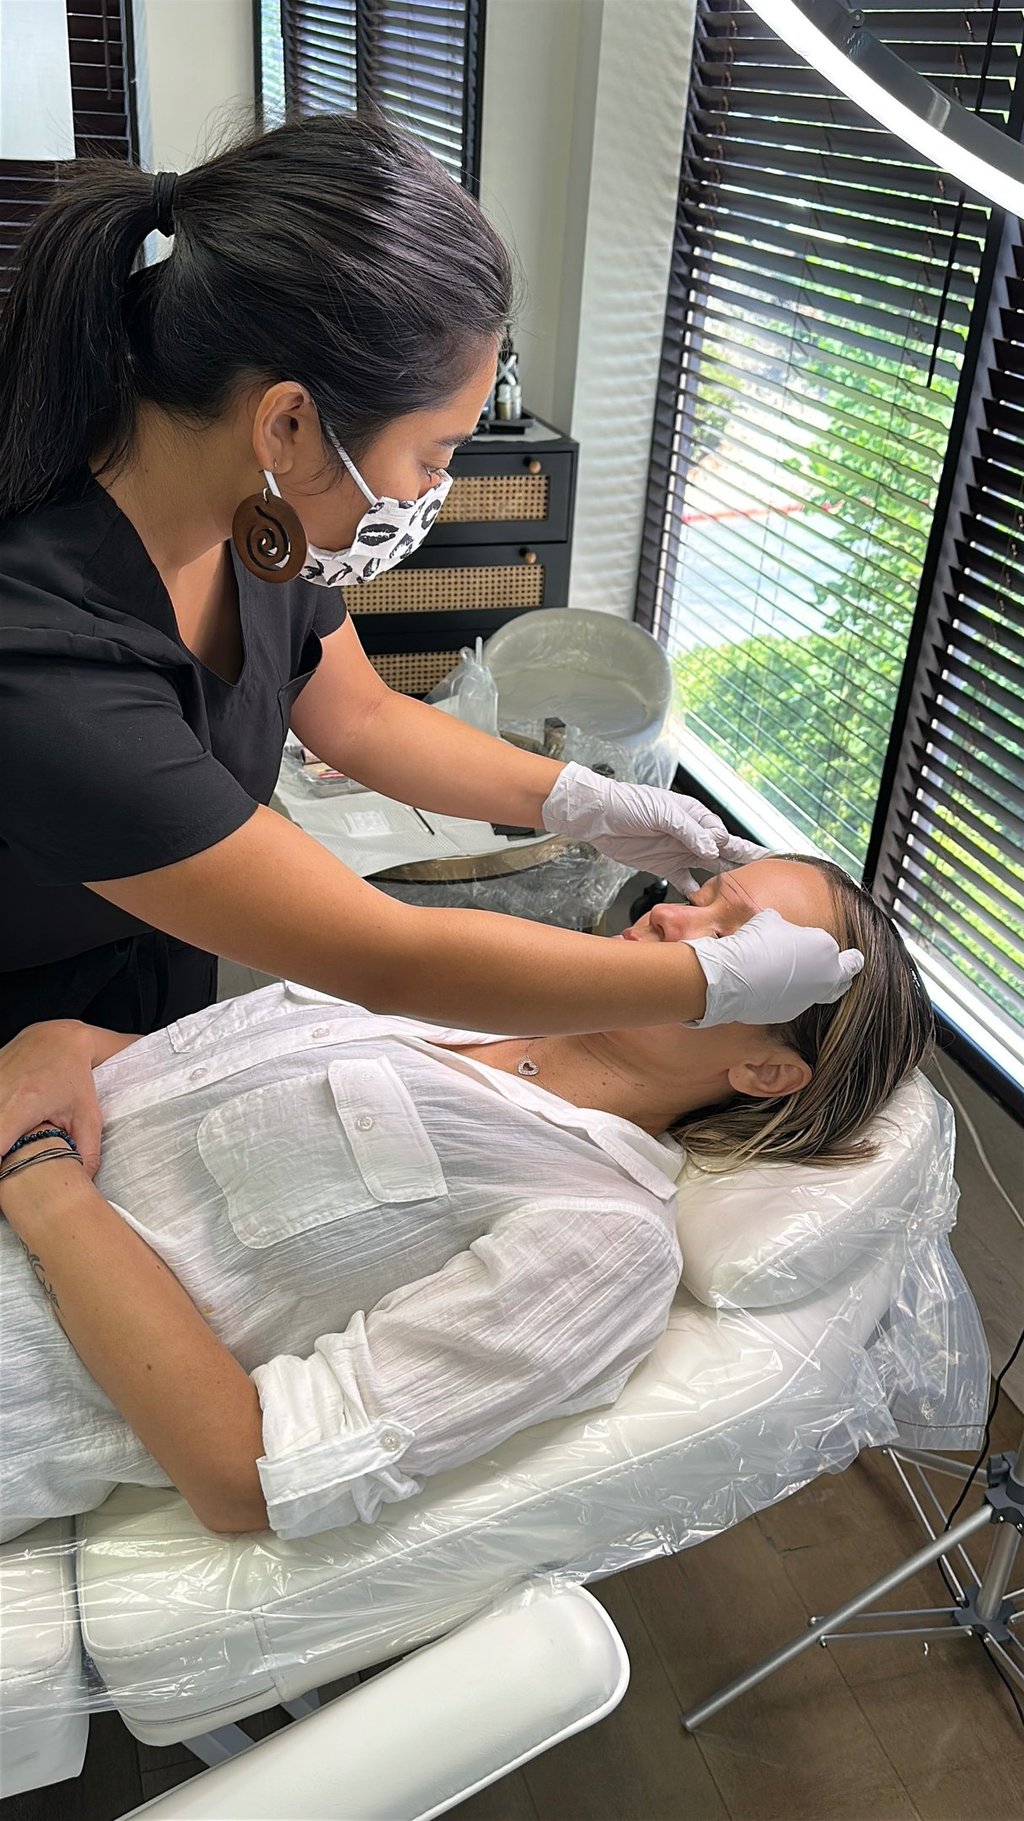
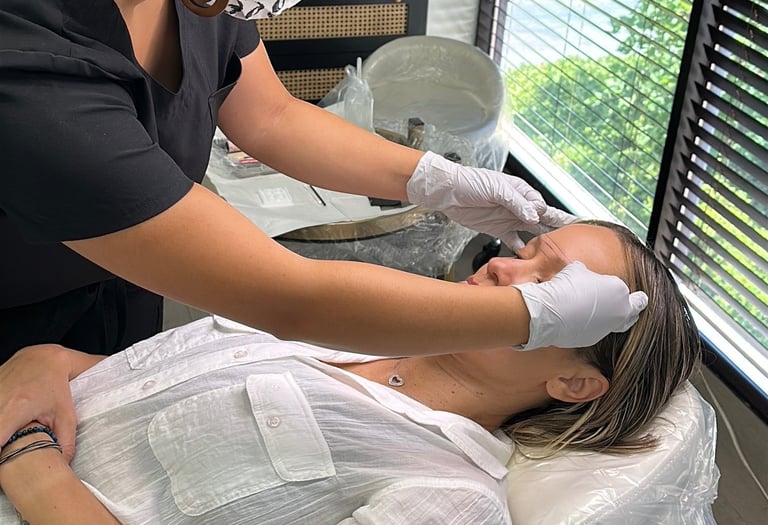
Step 1: Mapping Process
We will start by asking you about your desired brow shape, thickness, and color, and evaluate your facial features and skin tone to determine the best approach for achieving your desired results. Every lip is a customized design tailored to your unique facial features and personal preferences.
We dedicate 1+ hours solely for mapping to ensure our clients are 100% happy about their shape and color before making anything permanent.
We take this part of the procedure very seriously and encourage clients to ask for as many changes as they wish and ask questions throughout the process.
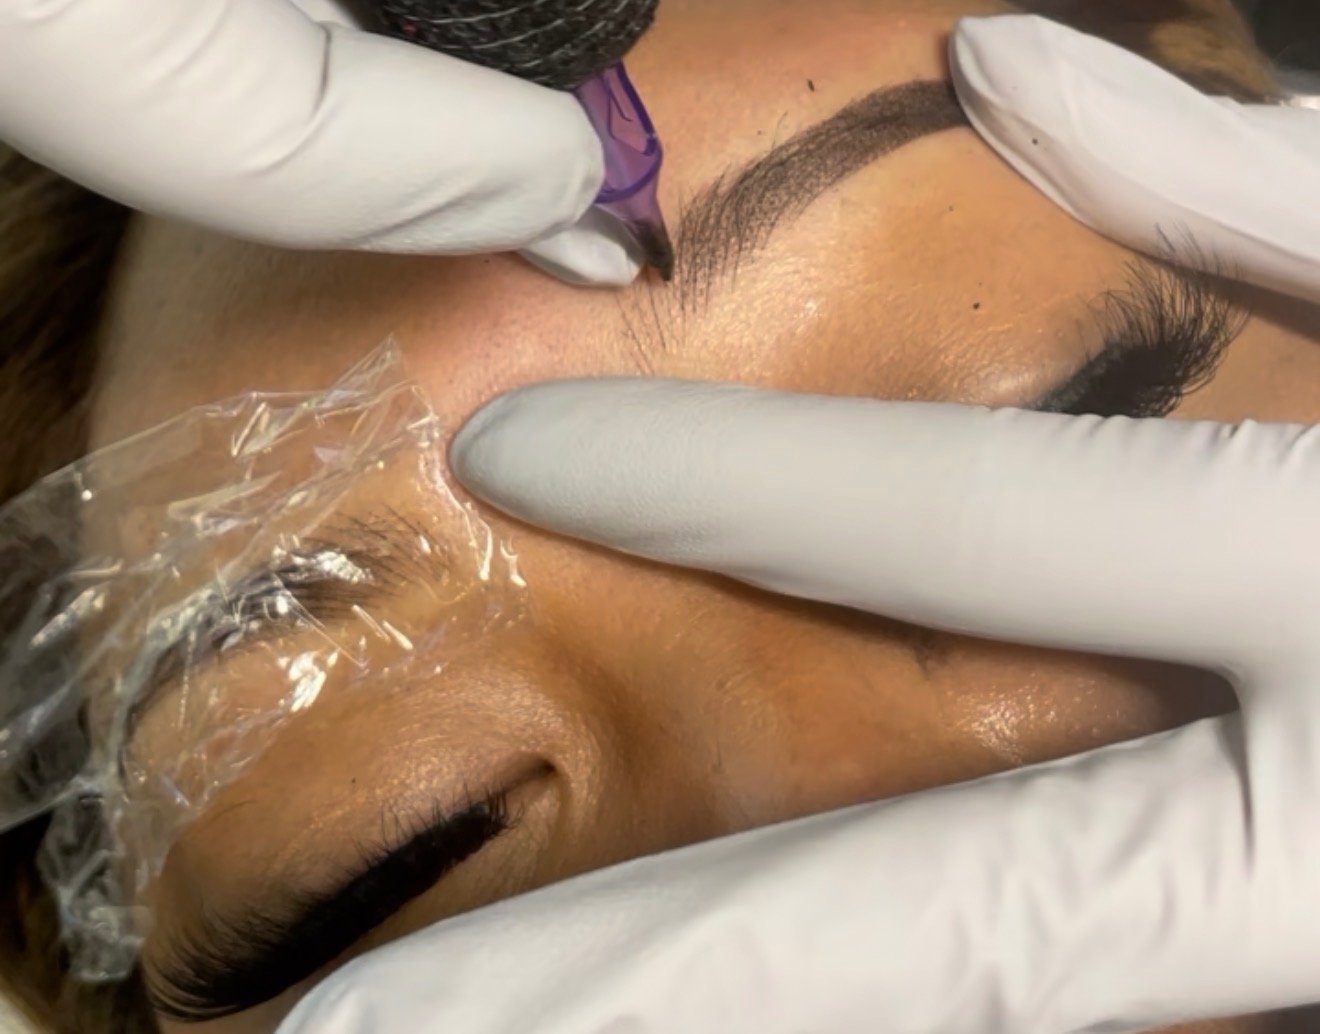
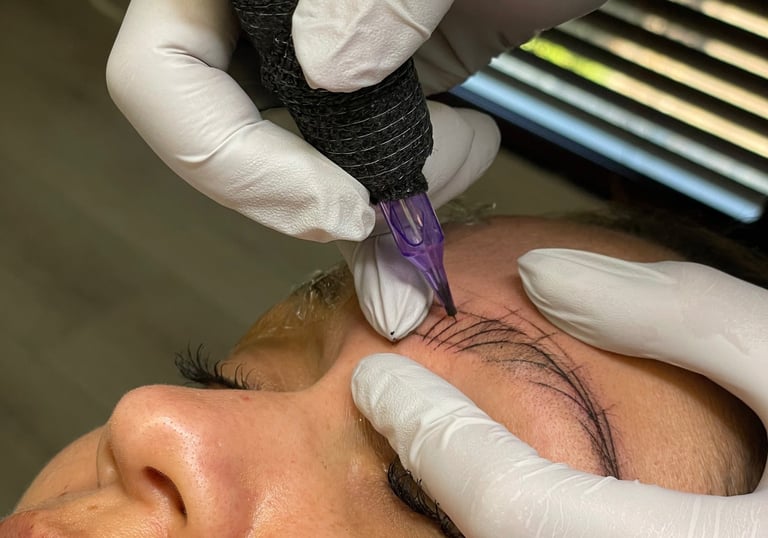
Step 2: Numbing
Microblading: We use a special DOUBLE NUMBING process to ensure that you won't feel and pain during the process.
Nano/Ombre: We do a very light first pass before numbing. Most clients rate the initial pass a 1/10. After the first pass, we apply numbing and half of our clients fall asleep after and feel zero pain.
First pass: We begin with a light outline, carefully tracing over the pre-drawn shape to map your brows perfectly.
Second pass: We go over the outline again, adding more detail and definition for a natural, polished look.
Third pass: We apply the finishing touches, ensuring stroke/gradient is seamless. Afterward, we show your brows and ask for any adjustments you’d like.
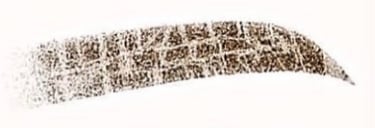
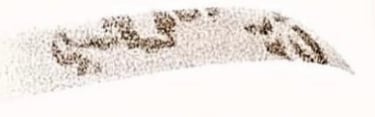
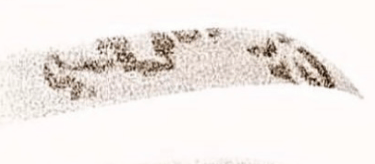
Brows heal 30–50% lighter than the initial result.
Step 3: Procedure

Brow Healing Process
Brows heal 30-50% Lighter than Initial Result
Day 1 - 2: Tender/Dark

Brows may appear darker, bolder, and slightly swollen or red. This is completely normal.
Day 3 -10: Peeling, Patchy
Day 10-14: Evens Out
Weeks 3-4: Healed
Brows will appear dark, itchy, scabby, and start peeling. Do NOT pick off color. Continue gently washing brows and applying ointment.
Color fully settles, often 30–50% lighter than right after the procedure. Any unevenness can be corrected during a your 1 month touch-up session.
Most flaking is done, and the true shape starts to emerge. Brows may still be lighter than the initial result.
Immediately after your appointment, dab your brows dry every 5 to 10 minutes in case of any lymph fluid. Start gently cleaning your brows using antibacterial soap and dry immediately after. Do not scrub or rub. Repeat this morning and night for the next 10 days or until you are done peeling/healing.
After 48 hours, start to apply the ointment provided by your artist directly after cleaning your brows morning and night. Ointment size amount should be half a grain of rice that will do both brows. When showering, avoid water constantly flowing over brows.
Must Avoid (for 7-10 Days)
NO Swimming
NO Excessive Sweating (Working Out, Running)
NO Direct Shower Spray
NO Sauna
NO Sunlight
NO Swimming (Ocean, Pool)
NO picking/scrubbing/peeling at Scabs
If you have extreme oily skin, no need to apply ointment. For best results, keep brows as dry as possible.